Office of the University Registrar
Class and Grading Information
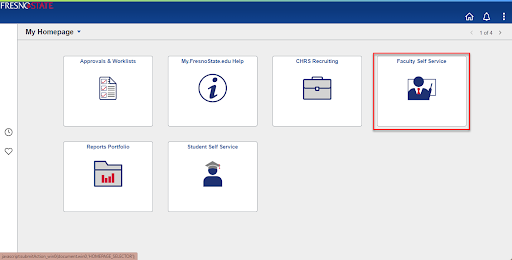
- Log into My Fresno State.
- Click on the Faculty Self Service.
- Click on the Faculty Center
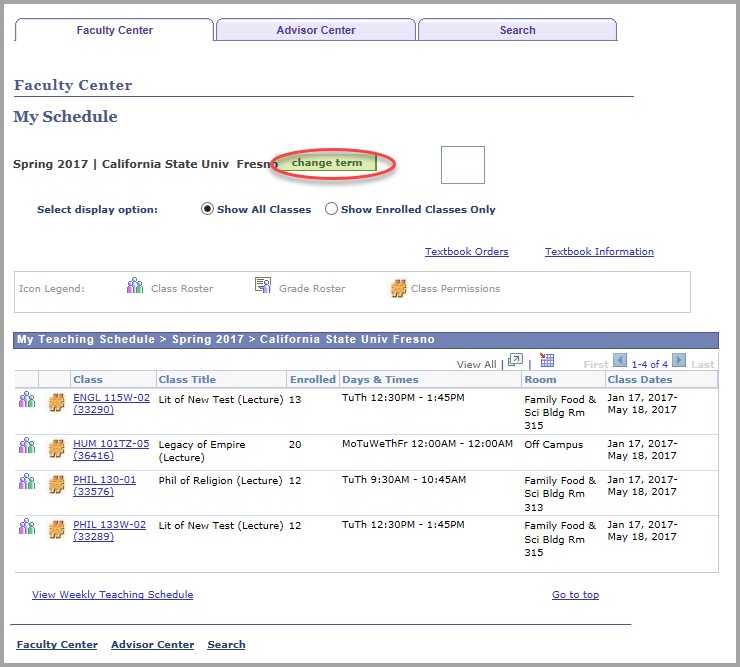
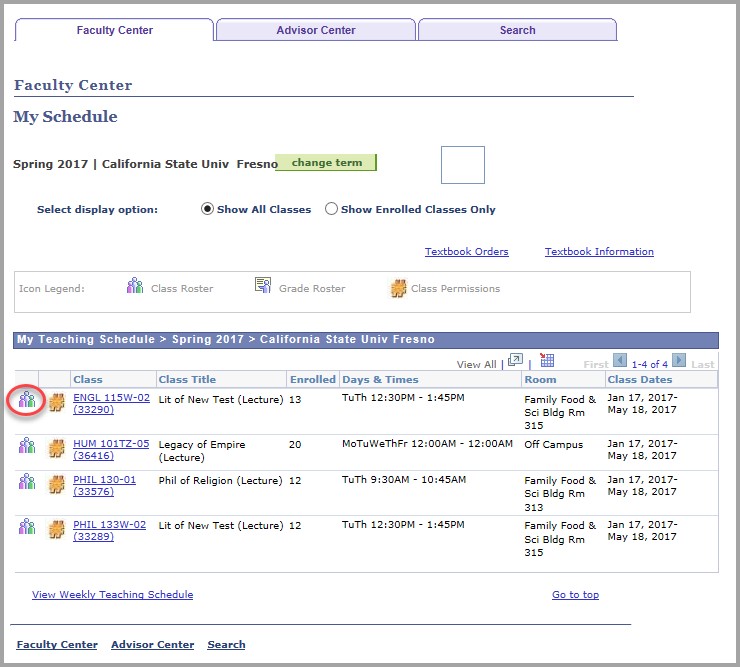
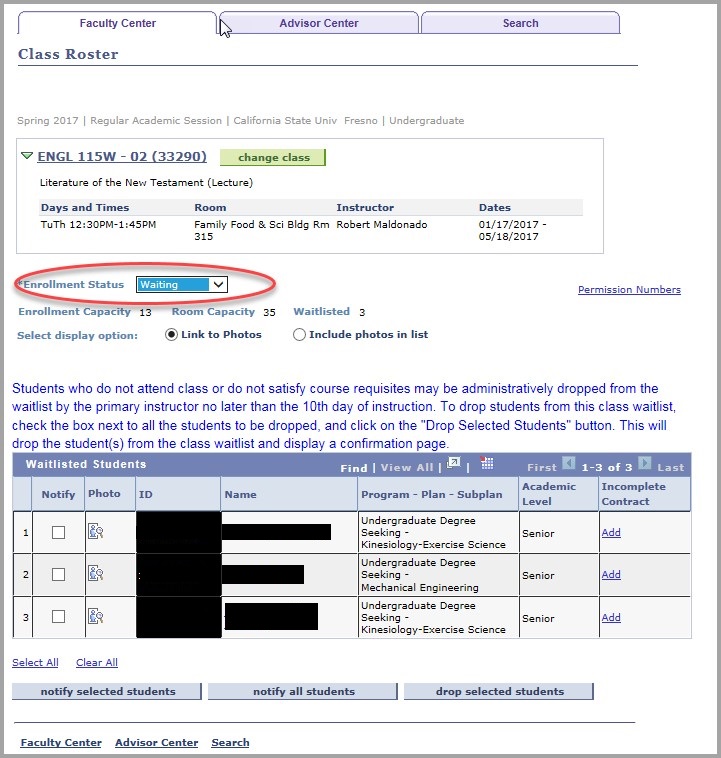
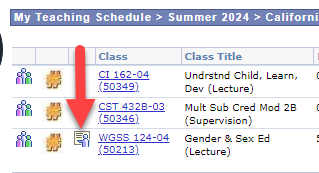
- Click on the Class roster icon next to the class you need to drop students from:
- If it is within the valid dates to online drop students from your class (and the
class is setup to allow online Instructor Drops) the instructions and “Drop Selected
Students” button will show on the Class Roster.
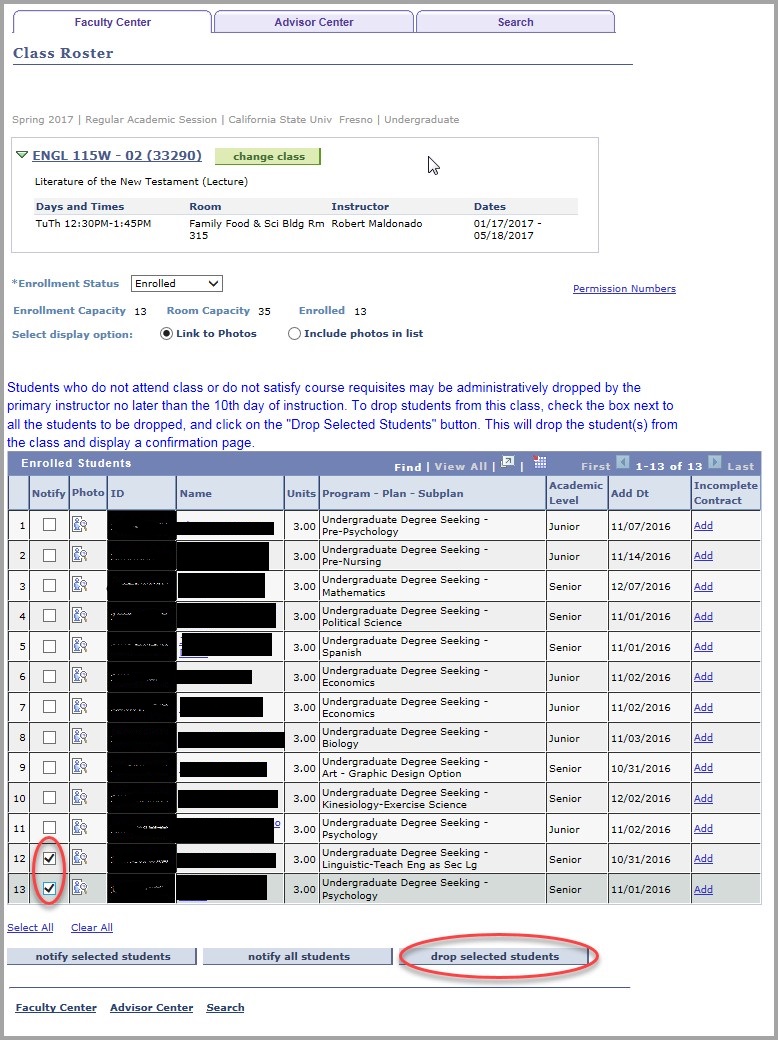
- Check the checkbox next to the students who need to be dropped from the class and click the "Drop selected students" button.
- A confirmation page will appear:
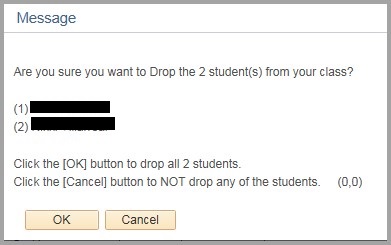
- Verify that you have selected the correct students and click the "OK" button. (If not the correct students click the "Cancel" button to return to the roster.)
- The system will process the request for student drops:
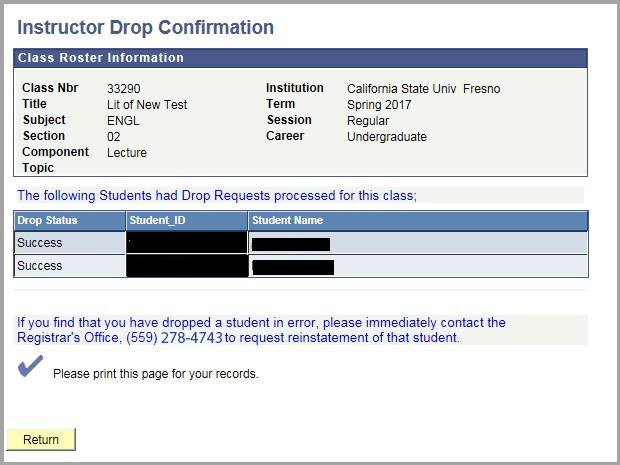
- Drop Status of "Success" or "Messages" indicates taht the students have been dropped from your class.
- A drop status of "errors" indication that there is some administrative reason that the student can not be dropped online. If any of the students return with a Drop Status of “Errors” they were not dropped from your class you will need to contact the Registrar’s Office (or Division of Continuing and Global Education if the class is offered through CGE) to request the student be dropped from your class.
- Use your browsers “Print” function to print this page for your records.
- Click the “RETURN” button to return to the roster.
- To Drop Students from the Wait List, change the Enrollment Status to “WAITING” and
follow the instructions for dropping from enrolled status.
Grade Changes
Grade changes are reviewed by staff in the Office of the University Registrar and are approved or denied based on time limits and guidelines defined in APM 242. In addition, Executive Order (EO) 1037 is reviewed for additional grading policies set by the Chancellor’s Office.
We are now paperless! Our office implemented a Grade Change workflow in Peoplesoft. View and request grade changes through your grade roster. Check out the video below for a quick overview. Contact our office if you have any questions.
Important notes:
Incomplete grades still need to be completed through the Incomplete Grade Contract. The new Grade Change workflow feature will only be available after the contract has been completed. For more information regarding completing the Incomplete Grade Contract, visit the Help Desk website.
RP grades are required to be completed within one year, according to EO 1037. Therefore, grade change requests made after one year will be required to indicate the date the work was completed by the student. If it was completed within the one year requirement, it will be approved. If it is over the one year limit, the grade change request will be denied. NOTE: The one year time limit does not apply to thesis courses.
Processing time: Please allow 2-3 business days
Import Grades to the Grade Roster
- Click on the Import Grades button on your grade roster.

- On the Load Student Grades from A File screen, click on the Import Grades button.

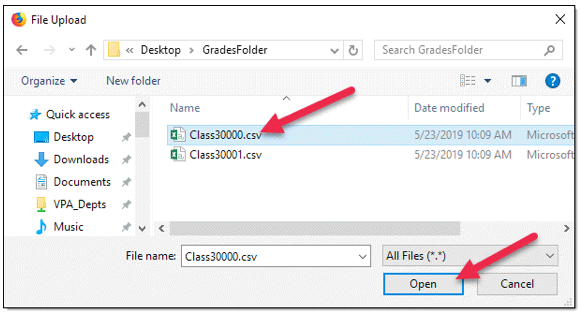
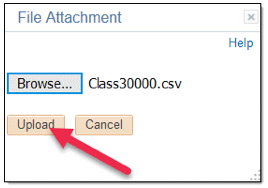
- Click on the Browse button.
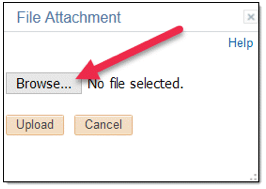
- Navigate to your grade file and select Open. Please note: the CSV file must be a plain
text file. If you are using a Mac computer, make sure the file is saved as a Windows
.csv or .txt file.
- Click the Upload button.
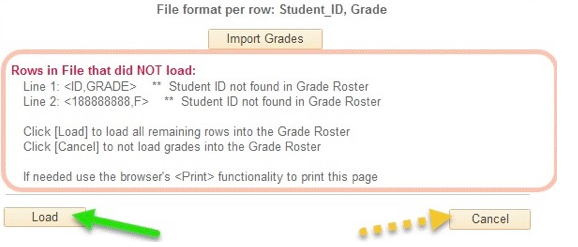
- If there is anything in the file that does not matchup to the grade roster, a list
of rows that do not match up will be displayed. Click Load to load all remaining rows
in the grade roster. Click Cancel to not load grades into the Grade Roster.
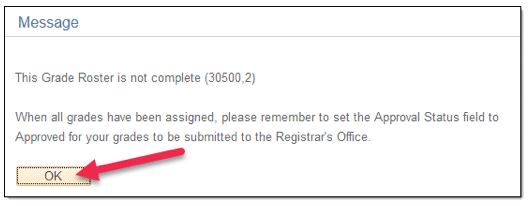
- When the upload completes, a messge to remind you to remind you to approve and save
your grade roster will display. Click OK to dismiss the reminder window.
- On the Grade Roster screen, click the Approval Status field to "Approved"
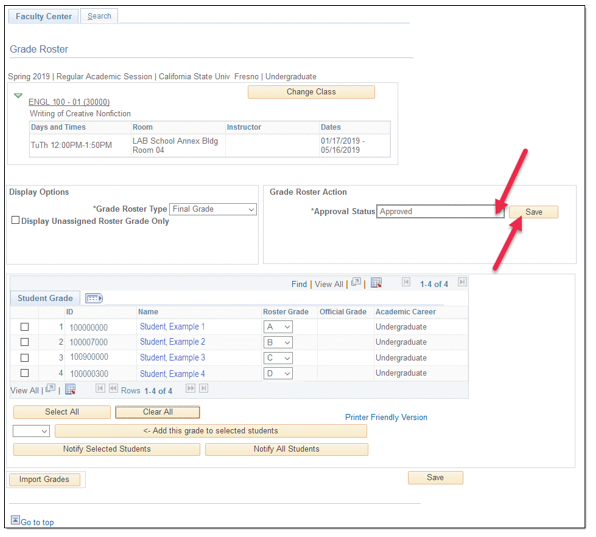
- Click the Save button.
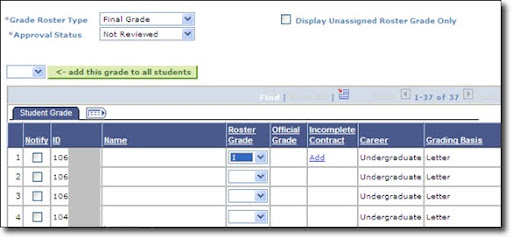
Incomplete Grade
Note: On an instructor's grade roster, if the instructor assigns an "I" grade (Incomplete), a new Incomplete Agreement column will appear with an Add link. If you select "I", and a value does not appear in the Incomplete Contact column, please contact the Technology Service Desk at 278-5000.
Valid Incomplete Agreement values:
- Add = No Incomplete Agreement has been created, please click to create a new one.
- Update = Incomplete Agreement has been created by the instructor and has not yet been "Accepted" by the student.
- View = Incomplete Agreement has been created by the instructor and has been "Approved" by the student.
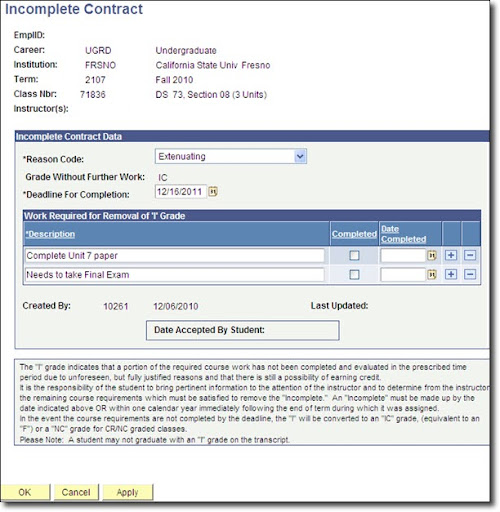
Creating an Incomplete Agreement
- Click on the Add link next to the "I" grade to access the Incomplete Agreement screen.
- Enter the Reason Code (pick from Extenuating, Medical, or Other). If required coursework is not completed by the designated time frame, the "I" reverts to an "IC" grade (Incomplete Charge).
- Enter the Deadline for Completion date.
- Enter the Descriptions of the Work Required for Removal of an "I" grade. Use the plus or minus buttons to add and remove individual descriptions.
- Click the OK button to return to the Grade Roster screen.
- Once the Incomplete Agreement has been created, the Incomplete Agreement link will
change to Update until the student accepts the Agreement. When the student accepts
the Agreement, the link will change to View.
- If the instructor tries to approve a grade roster with "I" grades assigned without
Incomplete Agreements created, an error message will display.

- The instructor needs to click the OK button, change the Approval status back to "Not Reviewed" and click on the Add links
to create the Incomplete Agreements for students assigned "I" grades.
- After all Incomplete Agreements have been created, the instructor can approve the grade roster.
- The instructor should inform the student to view the details of the Incomplete Agreements
on their Student Center using the same Grades link that is used to access their final
grades.
- The student will be able to review the Incomplete Agreement and acknoledge their understanding regarding the terms and conditions of the the Agreement.
- The instructor needs to click the OK button, change the Approval status back to "Not Reviewed" and click on the Add links
to create the Incomplete Agreements for students assigned "I" grades.
- Once all the requirements of the course have been completed, the instructor should return to their Faculty Grade Roster for the class where the Incomplete was issued to Complete the Incomplete Agreement.
Record Grades
For information on grade symbols and grade points, here is the policy link found in the general catalog
- Log into My Fresno State.
- Click on the Faculty Self Service.
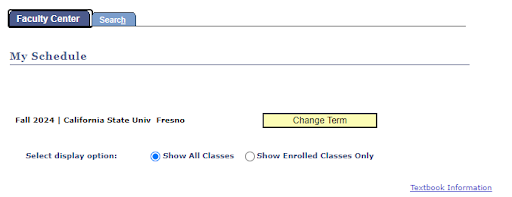
- Click on the Faculty Center
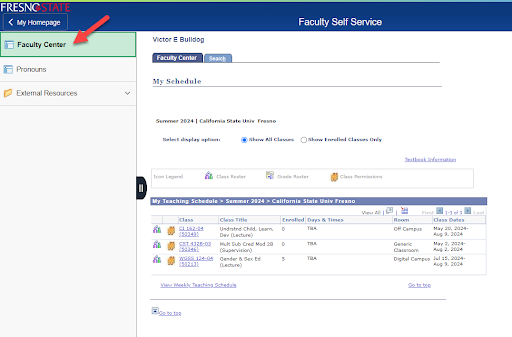
- Ensure that the appropriate term is listed. If not, click change term button to select
a different term.
- Click on the Grade Roster Icon of the appropriate class.
- Note: Grade Rosters are usually made available during the last two weeks of the semester.
- Note: Grade Rosters are usually made available during the last two weeks of the semester.
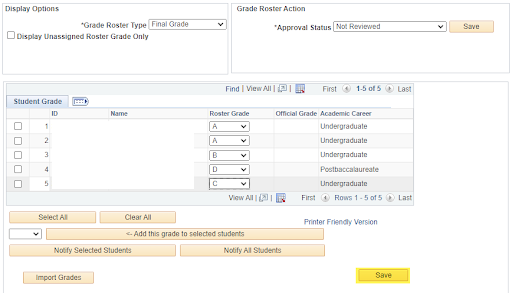
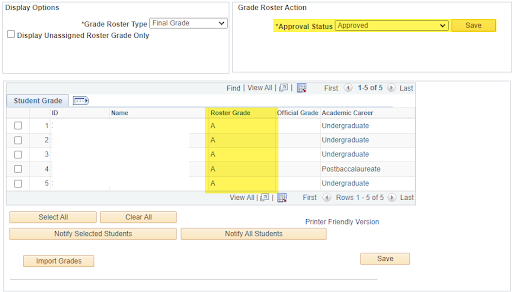
- Enter a grade for each student by selecting a letter grade from the Roster Grade drop-down.
- The Grade values acceptable for the class are the ones listed in the drop-down.
- To import grades from a file to the grade roster, see instructions for importing grades.
- If you entered an I grade for "Incomplete", you will need to create an Incomplete Agreement. See instructions for Incomplete Grades.
- For discrepancies (e.i. student received a grade but is not on the roster), see instructions for discrepancies.
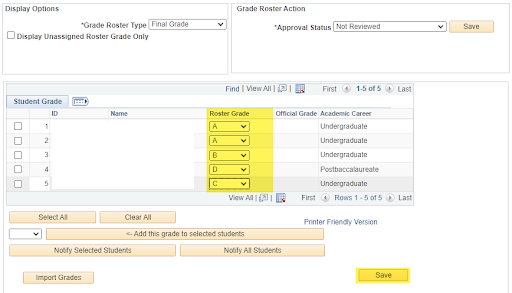
- Save often while entering the grades by clicking the Save button.
-
- This will ensure that your entries are saved in case you lose your network connection
or your computer crashes.
-
- Verify that each student has a grade and click on Save button.
- Note: you will get below message, click ok
-

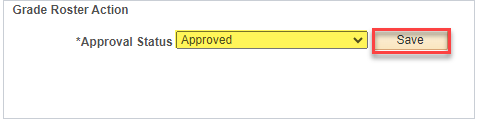
- Change the Approval Status field to Approved and click the Save button
- Note: The Roster Grade fields do not have the drop-down menu anymore.
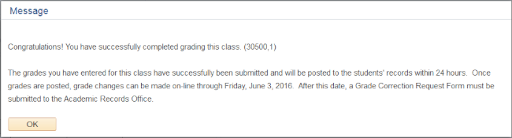
- You will get a message letting you know that the grade submission has been successful.
- Note: The Roster Grade fields do not have the drop-down menu anymore.
- Once the system has recorded your Approved grades, an e-mail will be sent to your
faculty e-mail address indicating a successful roster save.
- If you do not receive this e-mail, it is possible you may have missed a step when submitting your grades.
- If you need to change a grade right after you submitted them, just change the approval
status to Not Reviewed and change the grade.
- Click on Save, then change the approval status to Approved and click on Save.
- If the time period to make grade changes via your Grade Roster (refer to your Grade Roster email to know time period dates), you will need to request a Grade Change via the AWE process.
Printing Instructions
To print the class roster from your browser, follow instructions below:
- On Microsoft Edge:
- Right click and select Print
- On Firefox:
- Right click
- Select Take Screenshot
- Select Download
- Open the Download and select Print
- On Google Crome:
- Press Ctrl and P